Inventor
Inventor is a 3D mechanical solid modeling design software. The software is used for 3D mechanical design, tool creation, and product simulation. It allows you to create 3D objects that then can be transferred to a file then printed on a 3D printer.
Steps to Using Inventor:
Step 1: Choose a plane to create a product
Step 2: Create a square with the rectangle tool
Step 3: Extrude the square to make it a box
Step 4: Dimension the size of the cut out
Step 5: Extrude the cut out
Step 6: Dimension the size for the second cut out
Step 7: Extrude the second cut out
Step 8: Dimension the third cut out of the shape
Step 9: Extrude the cut out once again
Step 10: Dimension two triangle on the top
Step 11: Extrude the two triangle cut outs
Step 12: Your widget project is finished
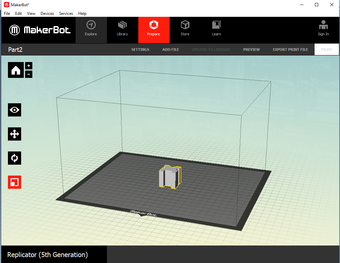
Setting up Print on MakerBot Desktop.
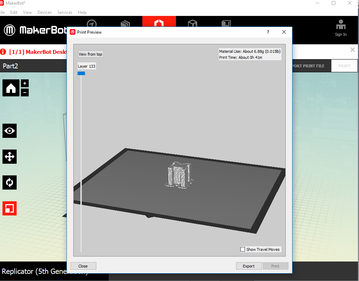
MakerBot preview screen.
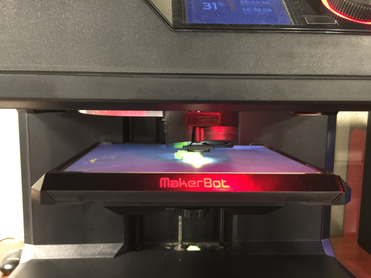
Widget being printed.
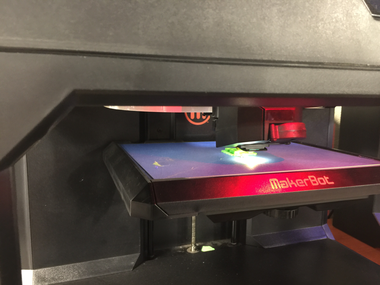
Another picture of the widget in the printing process.
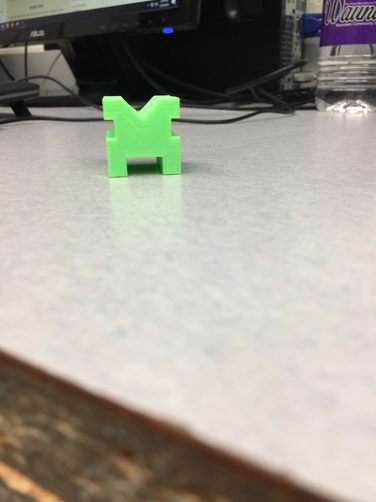
Final product of widget.
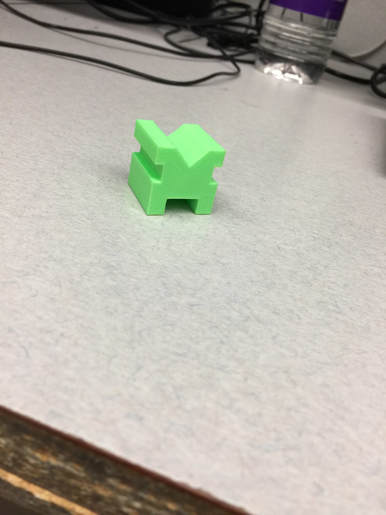
Another picture of final product of widget after printing.
Over the course of using inventor I learned that it can be bumpy ride when you start out using the software but over time becomes easier. Inventor taught me that there is an endless amount of possibilities on what you can create. I also learned that the harder you work to design something the more it will pay off in the end.
